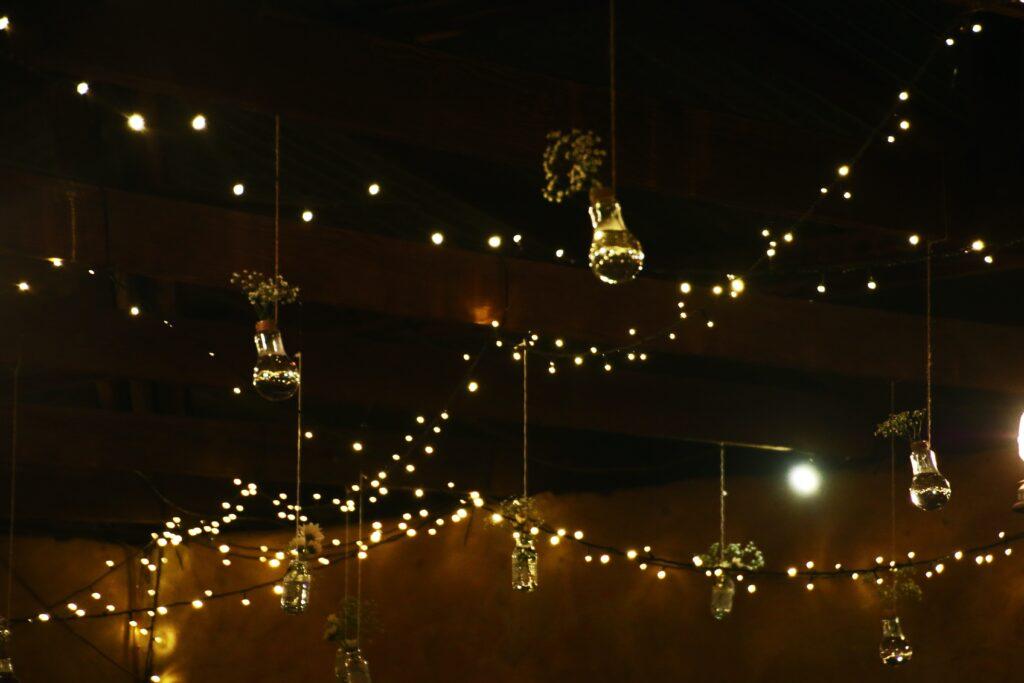
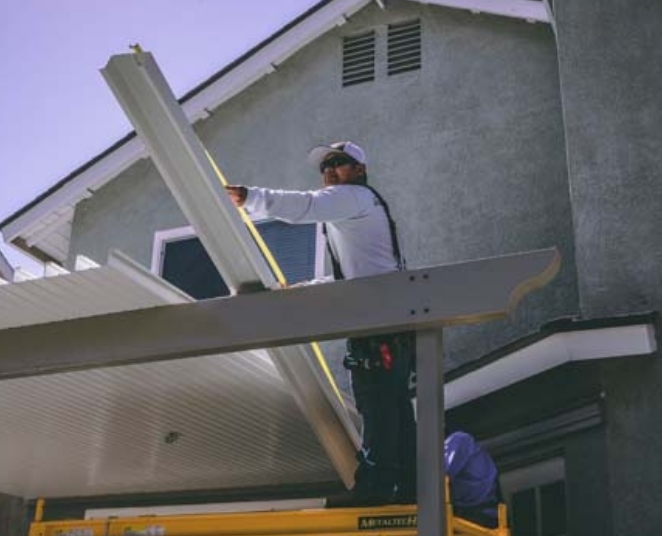
When it comes to transforming your outdoor space into a cozy and inviting haven, few elements are as effective as string lights. String lights, also known as fairy lights or patio lights, can turn a simple covered patio into a magical oasis perfect for relaxing evenings or entertaining guests. Hanging string lights on your covered patio is a relatively simple DIY project that can yield stunning results. In this article, we’ll walk you through the steps to create an enchanting outdoor atmosphere.
Step 1. Plan Your Design
Before you start hanging string lights on your outdoor patio cover, take some time to plan your design. Consider the layout of your patio, the available power sources, and the style you want to achieve. Do you want a canopy of lights overhead, a zigzag pattern, or something else entirely? Sketch out your ideas to get a clear vision of how you want your patio to look.
Step 2. Measure and Gather Supplies
Once you have a design in mind, measure the length and width of your patio to determine how many string lighting you’ll need. It’s a good idea to purchase a few extra strands in case of any unforeseen issues or future replacements. You’ll also need the following supplies:
- String lights
- Screw hooks or eye hooks
- Outdoor extension cords (if necessary)
- Zip ties or cable clips
- A ladder
- A drill with appropriate bits
- A level
- A measuring tape
Step 3. Choose the Right String Lights
When selecting string lightening, opt for weather-resistant, outdoor-rated options. LED string lights are a popular choice for their energy efficiency and durability. You can also find a variety of bulb shapes and colors to match your design preferences, from classic Edison bulbs to globe lights.
Step 4. Locate Power Sources
Identify where you’ll be plugging in the lights and determine the nearest power source. If you don’t have an outdoor power outlet, you may need to use an outdoor extension cord. Be sure to choose an extension cord rated for outdoor use to ensure safety and longevity.
Step 5. Hang Screw Hooks or Eye Hooks
Using your design as a guide, mark the locations where you’ll be placing screw hooks or eye hooks. These hooks will serve as anchor points for your string lights. Use a drill with an appropriate bit to create pilot holes, and then screw in the hooks. Be sure to use a level to ensure that the hooks are even and that your lights will hang straight.
Step 6. Attach the String Lights
With your hooks in place, it’s time to hang the string lights. Start at one end and attach the lights to the hooks. Many string lights have built-in clips or loops for this purpose. If not, you can use zip ties or cable clips to secure the lights to the hooks. Be gentle when hanging the lights to avoid damaging the wires or bulbs.
Step 7. Test the Lights
Before you complete the installation, plug in the lights to ensure they’re working correctly. This step is crucial to identify any issues that need fixing before your patio is fully set up.
Step 8. Make Adjustments
Step back and assess your work. Do the lights hang evenly and follow your planned design? Make any necessary adjustments to ensure they look as you envisioned. This is the time to tweak the positioning and tension of the lights.
Step 9. Enjoy Your Outdoor Oasis
With your string lights hung and everything in place, it’s time to sit back and enjoy your transformed covered patio. String lights create a warm and inviting ambiance that’s perfect for everything from a quiet night with a good book to lively gatherings with friends and family.
Step 10. Maintenance and Safety
Regularly inspect your string lights to ensure they are in good condition. Replace any burnt-out bulbs or damaged wires promptly. During extreme weather, it’s a good idea to take down the lights to protect them from the elements and extend their lifespan.


